Below we explain in a step by step guide how to create an e-statement yourself in the app. Providing members with instant access to their account statements at any time of their choosing.
Your Step By Step Guide
Step One – Log into your app or online services.
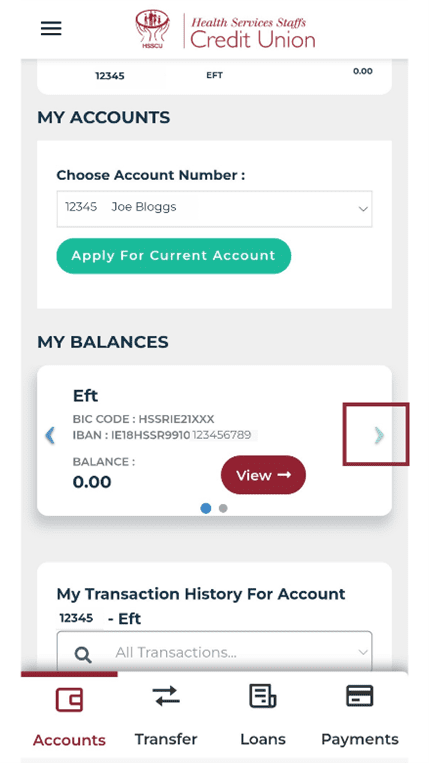
Step Two – Select the account you want to create a statement for, in this example we selected a Shares Account. In the My Balances section use the arrow button, highlighted below in the first image to move across to your Shares. Then click the view button, highlighted below.

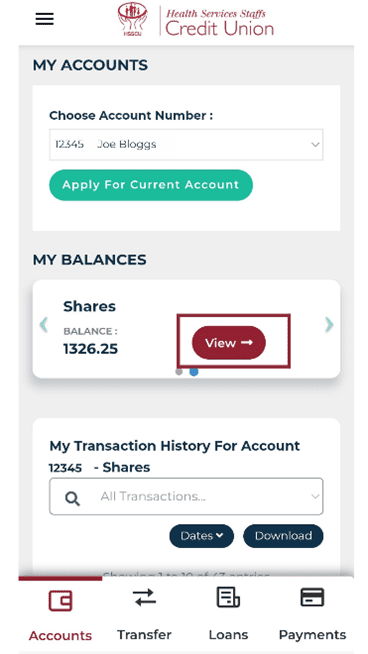
Step Three – Then select the view option that appears on the screen. This is the highlighted option below.
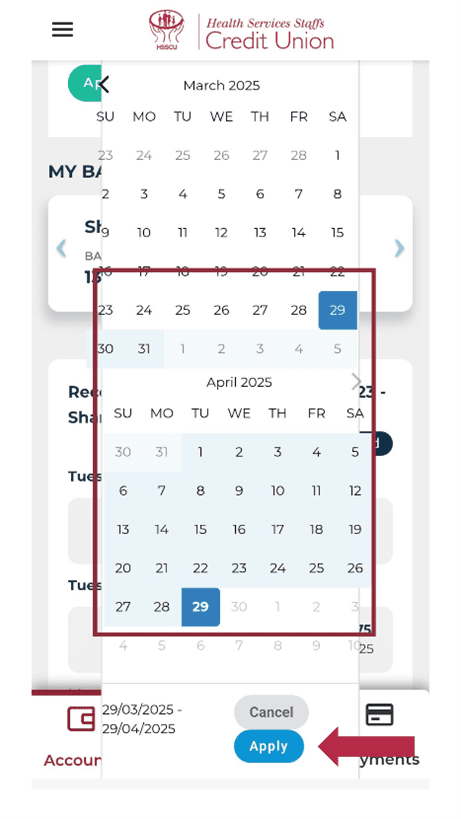
Step Four – This will show your recent transactions, from here you can then set the date range that you would like your statement to be created from. Once you have selected your dates, scroll down and click ‘Apply’. It could be for the last month, year or longer and is up to yourself to decide. Selecting the date range is highlighted in the image below.
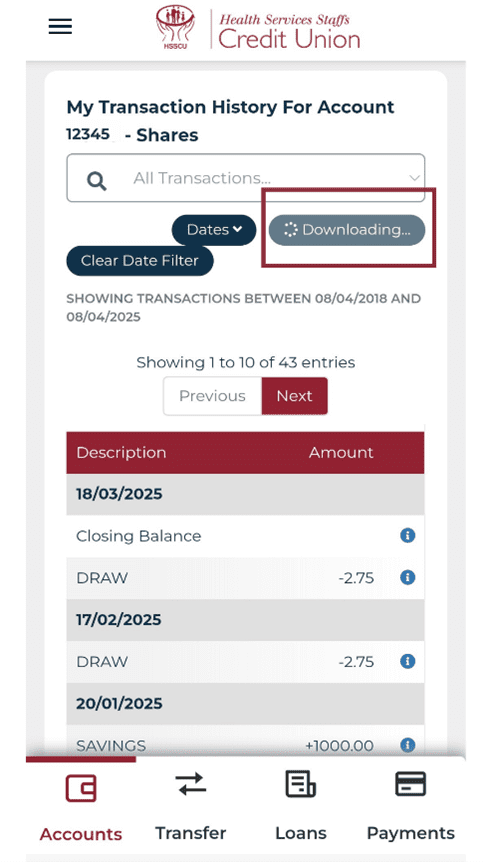
Step Five – Select download and the e-statement will then begin downloading to your device. The download button is highlighted in the image below. Members, please be careful when saving statements to your device that is accessed by other people using the device.
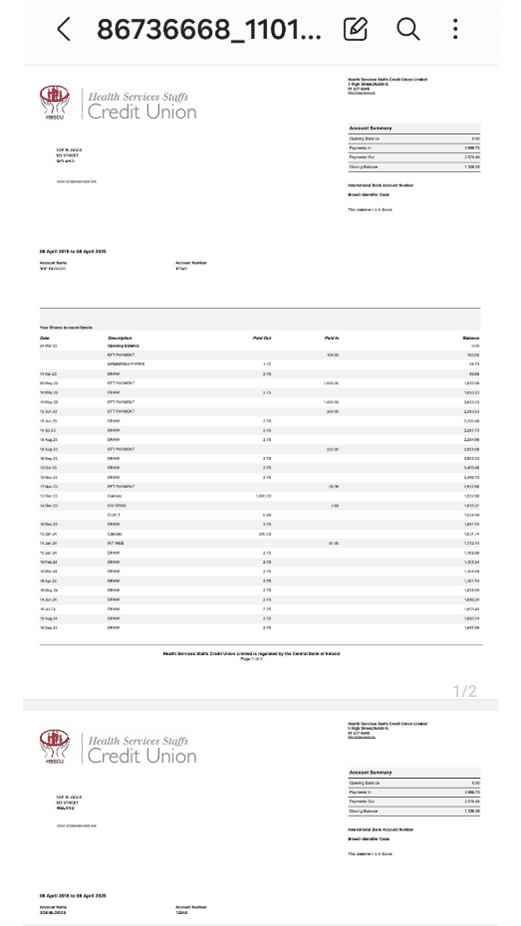
Step Six – Your e-statement will now be saved as a PDF to your device for you to review and store securely. It will automatically open once the downloading has been completed. An example of how it will look is provided below.